Recover a USB Flash Drive That has Turned RAW
Recover a USB Flash Drive That has Turned RAW
We all use USB drives so frequently these days that we don’t tend to give them a second thought. At least, that is, until something goes wrong. The failure rate for USB drives is, thankfully, pretty low these days, but that doesn’t mean that things do not go wrong. You may have noticed that all of a sudden, your USB drive has gone RAW – so how do you recover data from a RAW USB drive.
You’ll be pleased to hear that all is not lost. Using the right techniques and software, data recovery from a RAW USB drive is not a problem. It really comes down to doing the right things, at the right time, in the right order, with the right tools.

USB drives and memory cards that have gone RAW are tackled in the same way.
So, join us as we take a look at RAW USB drive recovery. Don’t worry, while you may have heard about drive recovery methods that wipe out whatever is stored on a drive, we’ll show you how to fix RAW USB drives without losing data.
It does not matter whether you are using a large capacity external drive from the likes of Western Digital or Seagate – or if you are using a memory card from a company like SanDisk, Kingston, or Lexar – the process involved is very much the same. Your storage device very probably still contains everything you copied to it, but there are steps you need to follow to recover files from RAW drives.
Symptoms of RAW USB Flash Drive
#1 The most obvious symptom of a USB drive having turned RAW is that you will simply not be able to access any of the files you know are stored on it. If you look at the properties of the drive you are having problems with, you will see that the file system is RAW or – in some cases – the format may not be recognized at all.
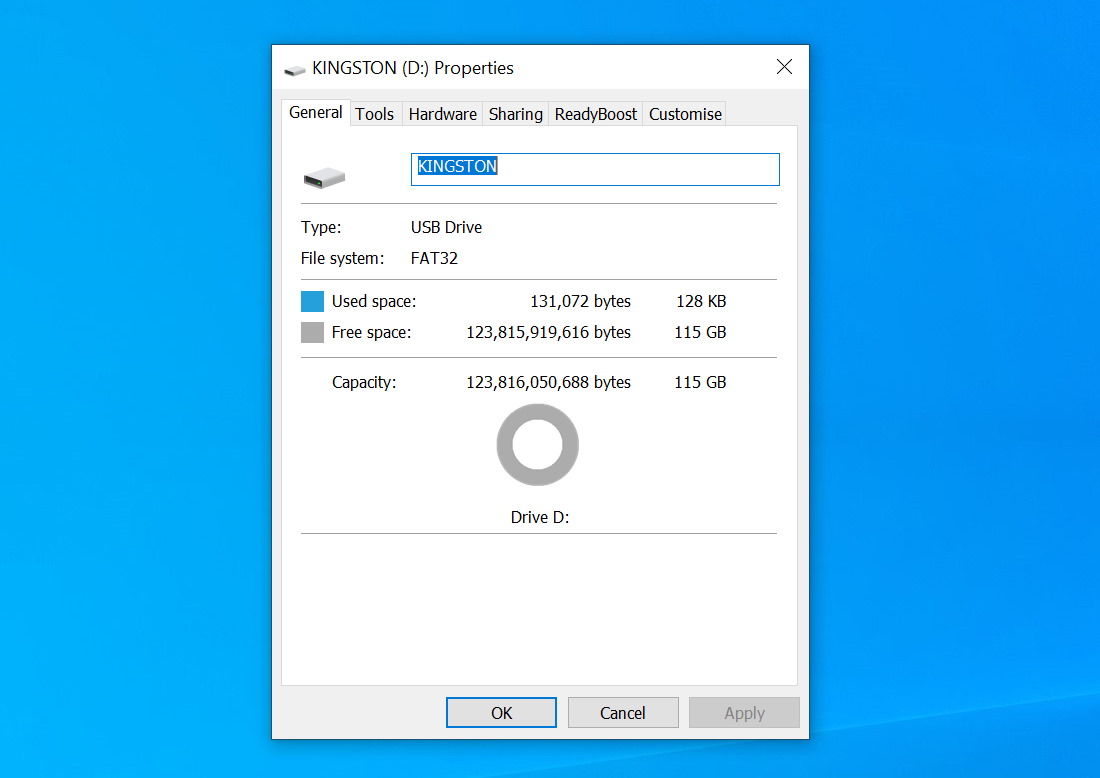
Checking drive properties will reveal how it is currently formatted.
#2 You may also find that a drive you know to contain data shows up as being empty, but (confusingly) you may also notice that while there is zero free space available, the drive reports containing zero bytes of data.
#3 Another symptom of a drive turning RAW is that Windows offers to format the drive when you connect it as the operating system believes that it has not yet been formatted.
#4 If you are able to view the contents of a drive that’s turned RAW, you may well notice that file and folder names are corrupted or contain unusual characters that you would not normally use.
Although many of these symptoms will be concerning when you first encounter them, you should not panic, as there may well be steps you can take to make the data on your drive accessible.
There are numerous reasons a drive or memory card can suddenly turn RAW, including malware infection, unplugging the drive in the middle of file transfers, and accidental formatting. Ultimately, the reason behind turning RAW does not matter. We’re going to be using the same tool and the same approaches to recover data.
Ways to Fix RAW USB Flash Drive
The first thing you can try when you want to fix your RAW drive is to make use of the tools that are built into Windows itself. There is an error checking tool that may just be able to help you out, and you can access it in just a few mouse clicks.
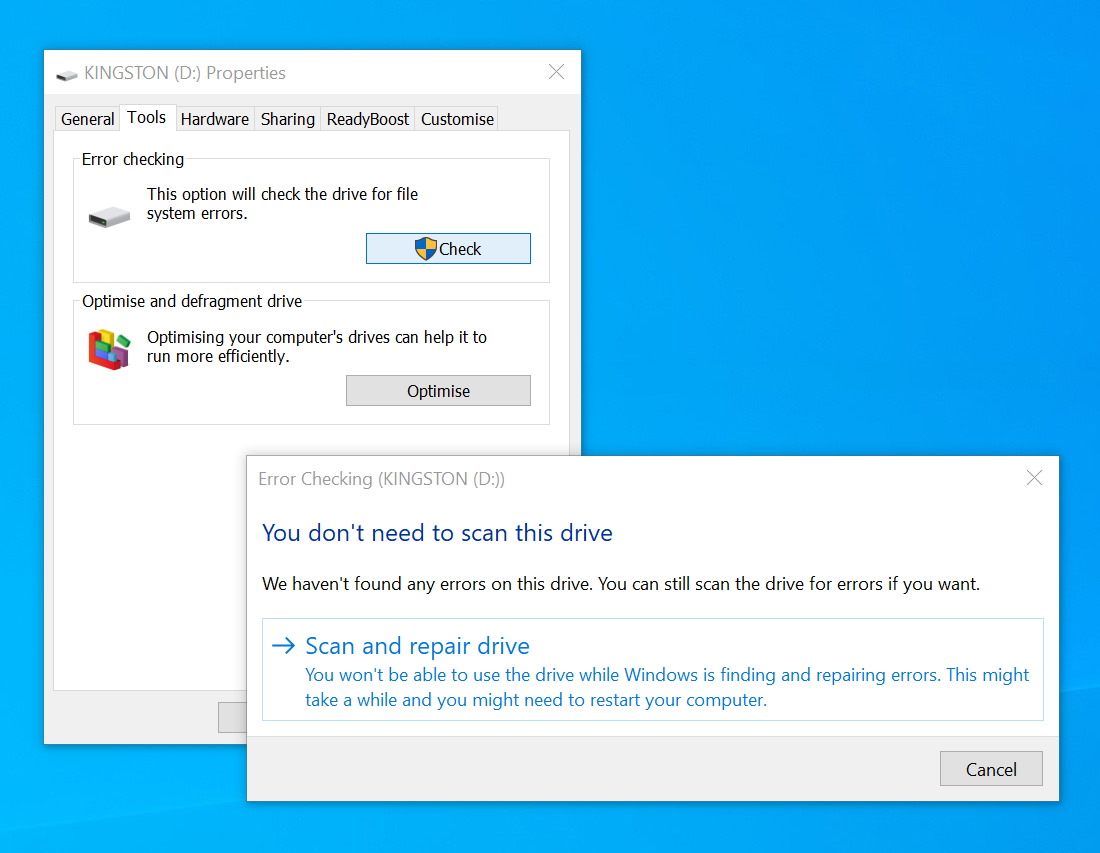
Windows’ built-in error-checking tool can correct some problems that turn drives RAW
- Make sure that you have your USB drive connected or your memory card inserted and launch Explorer in Windows.
- In the left-hand pane, right-click the icon for your drive and select Properties
- Move to the Tools tab of the drive properties dialog that appears.
- Click the Check button.
- Windows will warn you if it has already detected problems with the drive, as well as giving you the option of manually scanning and repairing the drive.
- If there are any problems with your drive that Windows is able to fix automatically, it will do so.
Steps to Recover Data from a RAW USB Flash Drive
Another option is to make use of a data recovery tool like Disk Drill. This can be used to recover data in a variety of ways in a range of circumstances, including when a drive has gone RAW for some reason. The software is available for both macOS and Windows, and you can get started using the program free of charge
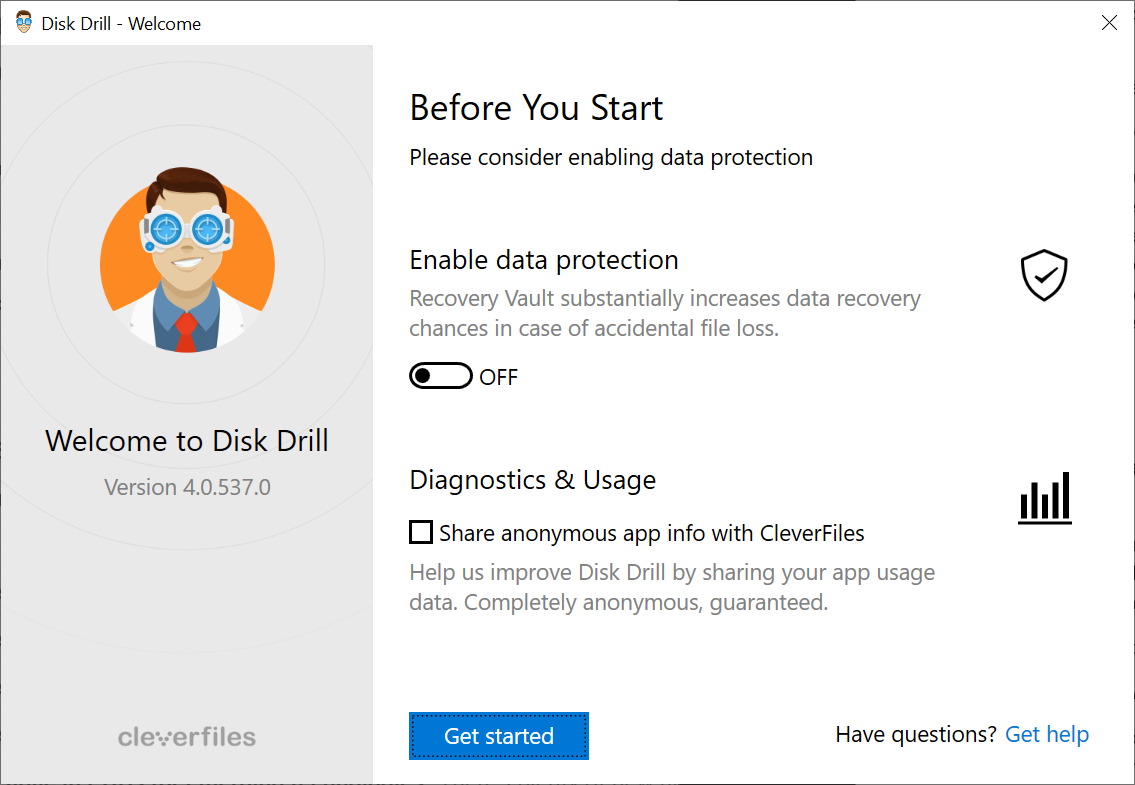
The first time you run the program you will asked whether you would like to enable data protection. By turning on the Recovery Vault option, you can – as the splash screen explains – dramatically reduce the risk of losing data as the vault protects against accidental data loss. Just flick the toggle to the On position and then click Get started to continue.
Step 1. Make sure that you have your problematic drive connected to your computer, and select it from the list in the center of the main program interface.
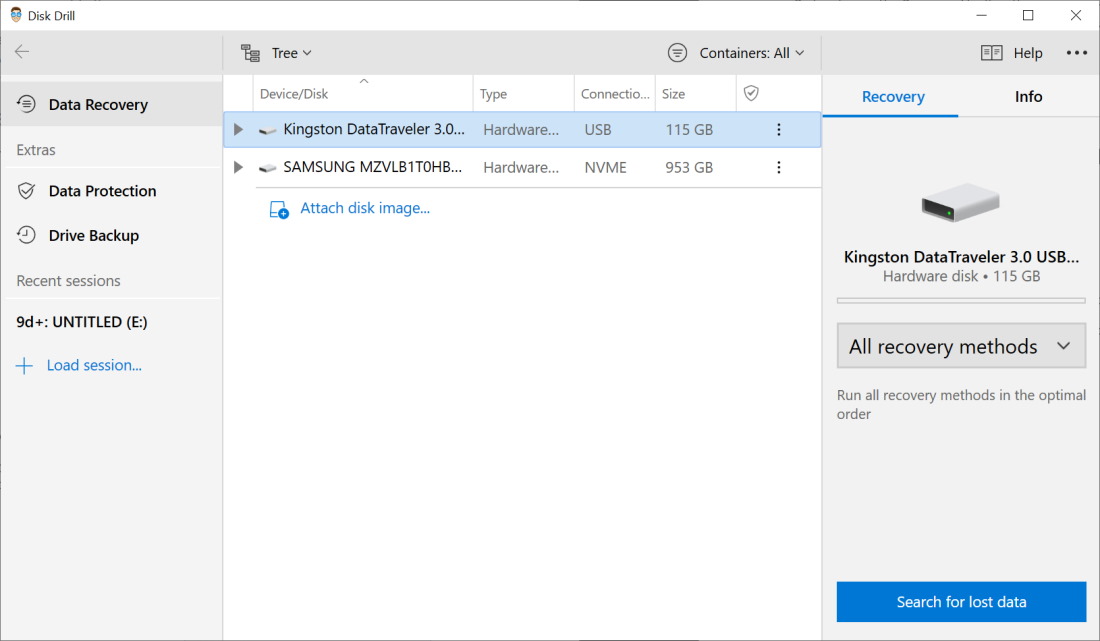
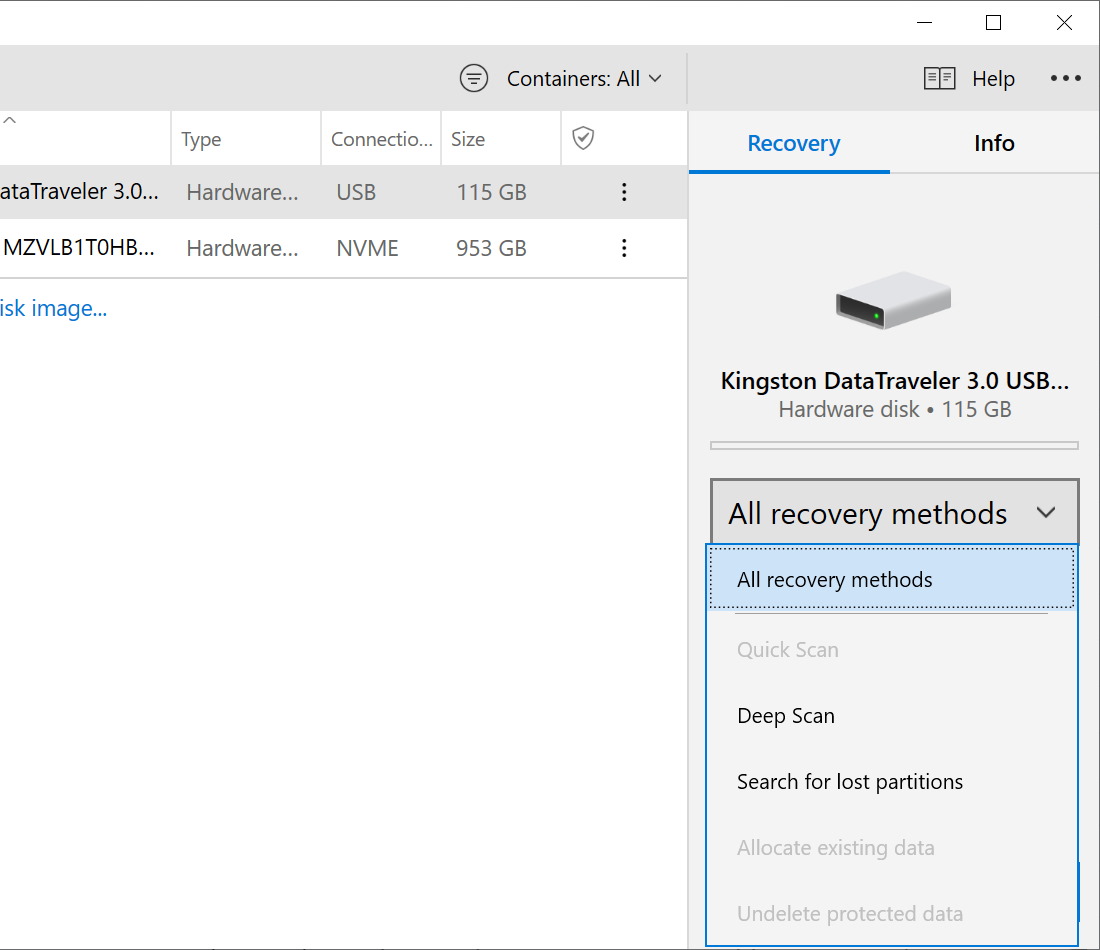
Step 2. From the drop-down menu to the right-hand side of the program window, make sure that All recovery methods are selected, and then click the Search for lost data button in the bottom right-hand corner.
Step 3. You’ll then have to wait for a little while as Disk Drill scans your drive for data that can be recovered. Just how long the process takes to complete will depend not only on the size of the drive being scanned but also the speed of your computer and the type of connection that’s in use.
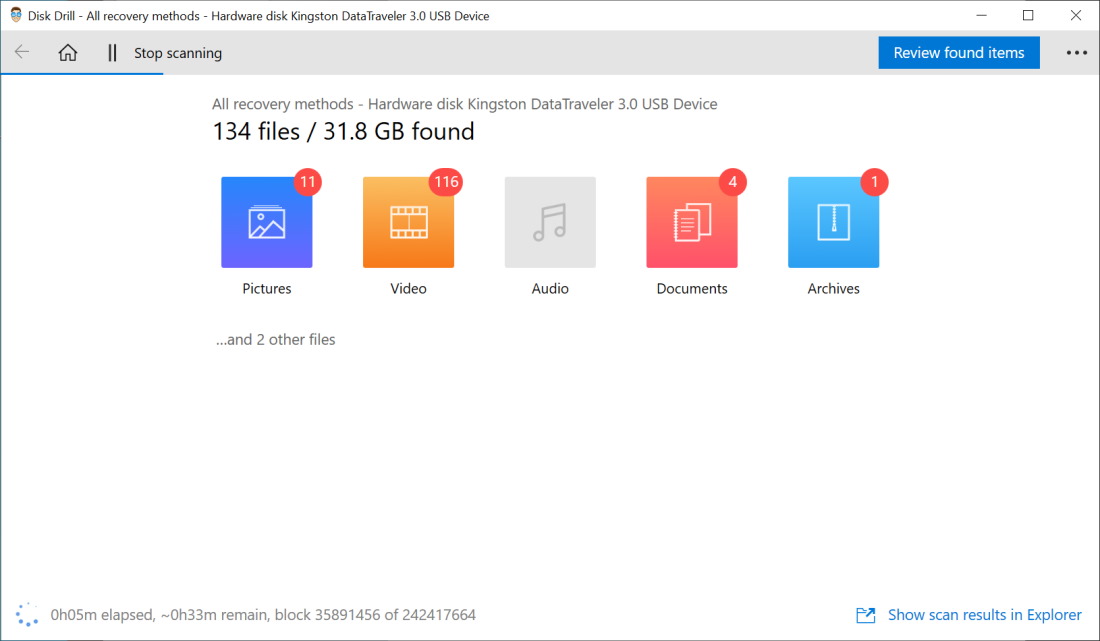
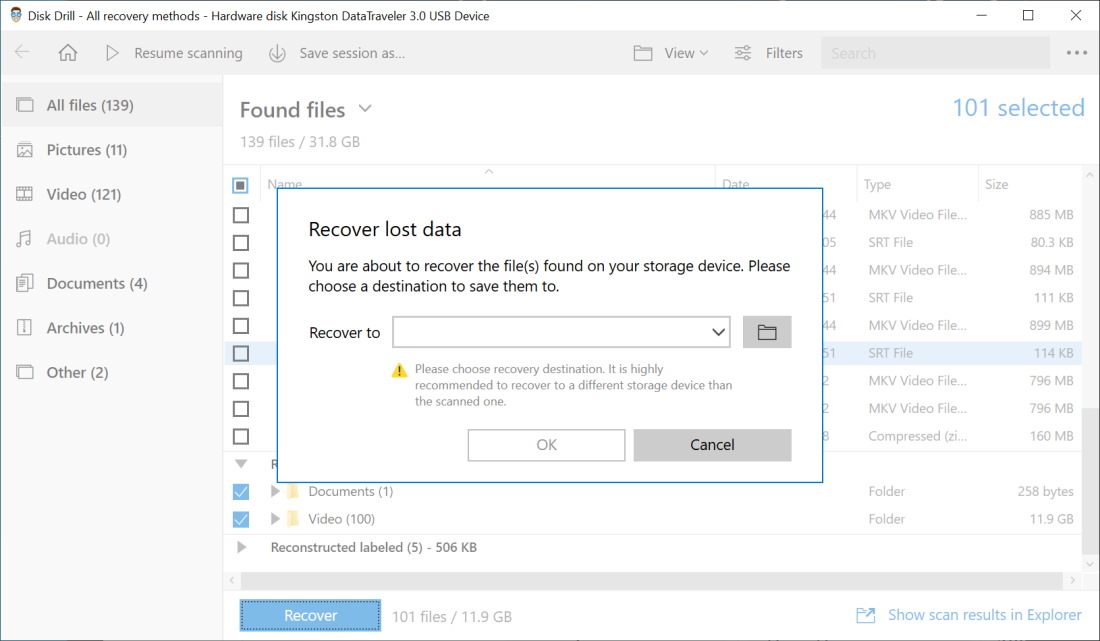
Step 4. You can take a browse through what has been detected on your drive, tick the boxes next to the one that you are interested in getting back and then click the Recover button. You will be prompted to choose a location the files should be recovered to, and a few moments later you should have your lost files back.
